

README-FIRST.txt and install-guide.txt - read those first on disk, then follow this page.
Time: ~30–60 minutes for a first local run (plus DNS/TLS when you deploy).
What you get after install
One deploy = one streaming brand. Payments, video CDNs, ads, analytics, and email are enabled later as Plugins.
Package contents
After you extract the CodeCanyon ZIP you should see: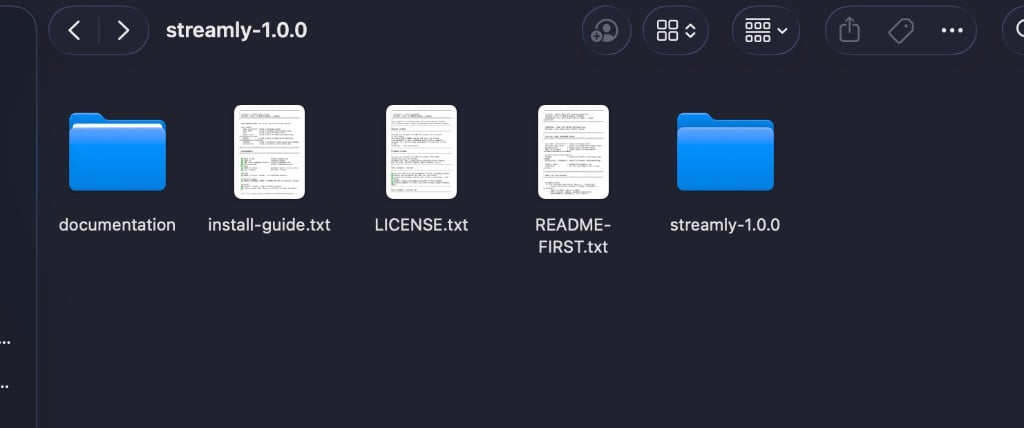
CodeCanyon package root - open README-FIRST.txt, then the streamly/ app folder.
Full tree: Folder Structure.
Requirements
First operator login also needs:
Optional later: Stripe / PayPal, video plugins, ads, analytics. Details: Requirements.
Step 1 - Extract and open the app
- Extract the ZIP.
- Open
streamly-1.0.1/streamly/in your editor (the app folder). - Open a terminal inside that folder.
package.json, .env.example, DEPLOYMENT.md, app/, supabase/migrations/, themes/, plugins/, addons/.
Step 2 - Install dependencies
Step 3 - Create Supabase and run migrations
- Create a new project at supabase.com/dashboard.
- Settings → API - copy:
- Project URL →
NEXT_PUBLIC_SUPABASE_URL anonpublickey →NEXT_PUBLIC_SUPABASE_ANON_KEYservice_rolekey →SUPABASE_SERVICE_ROLE_KEY
- Project URL →
- SQL Editor - run every file in
supabase/migrations/in numeric / filename order. - Authentication → URL Configuration:
- Site URL = your public URL (or
http://localhost:3000locally) - Add redirect URLs that include
/auth/callback
- Site URL = your public URL (or
There is no single
INSTALL.sql / schema.sql. Use supabase/migrations/ only.Step 4 - Environment variables
NEXT_PUBLIC_. After the first operator signs in, you can remove STREAMLY_INITIAL_ADMIN_PASSWORD and redeploy.
Payment and analytics keys are usually pasted later in Admin → Plugins (encrypted) - not only in .env.
Full list: Environment Variables.
Step 5 - Run locally
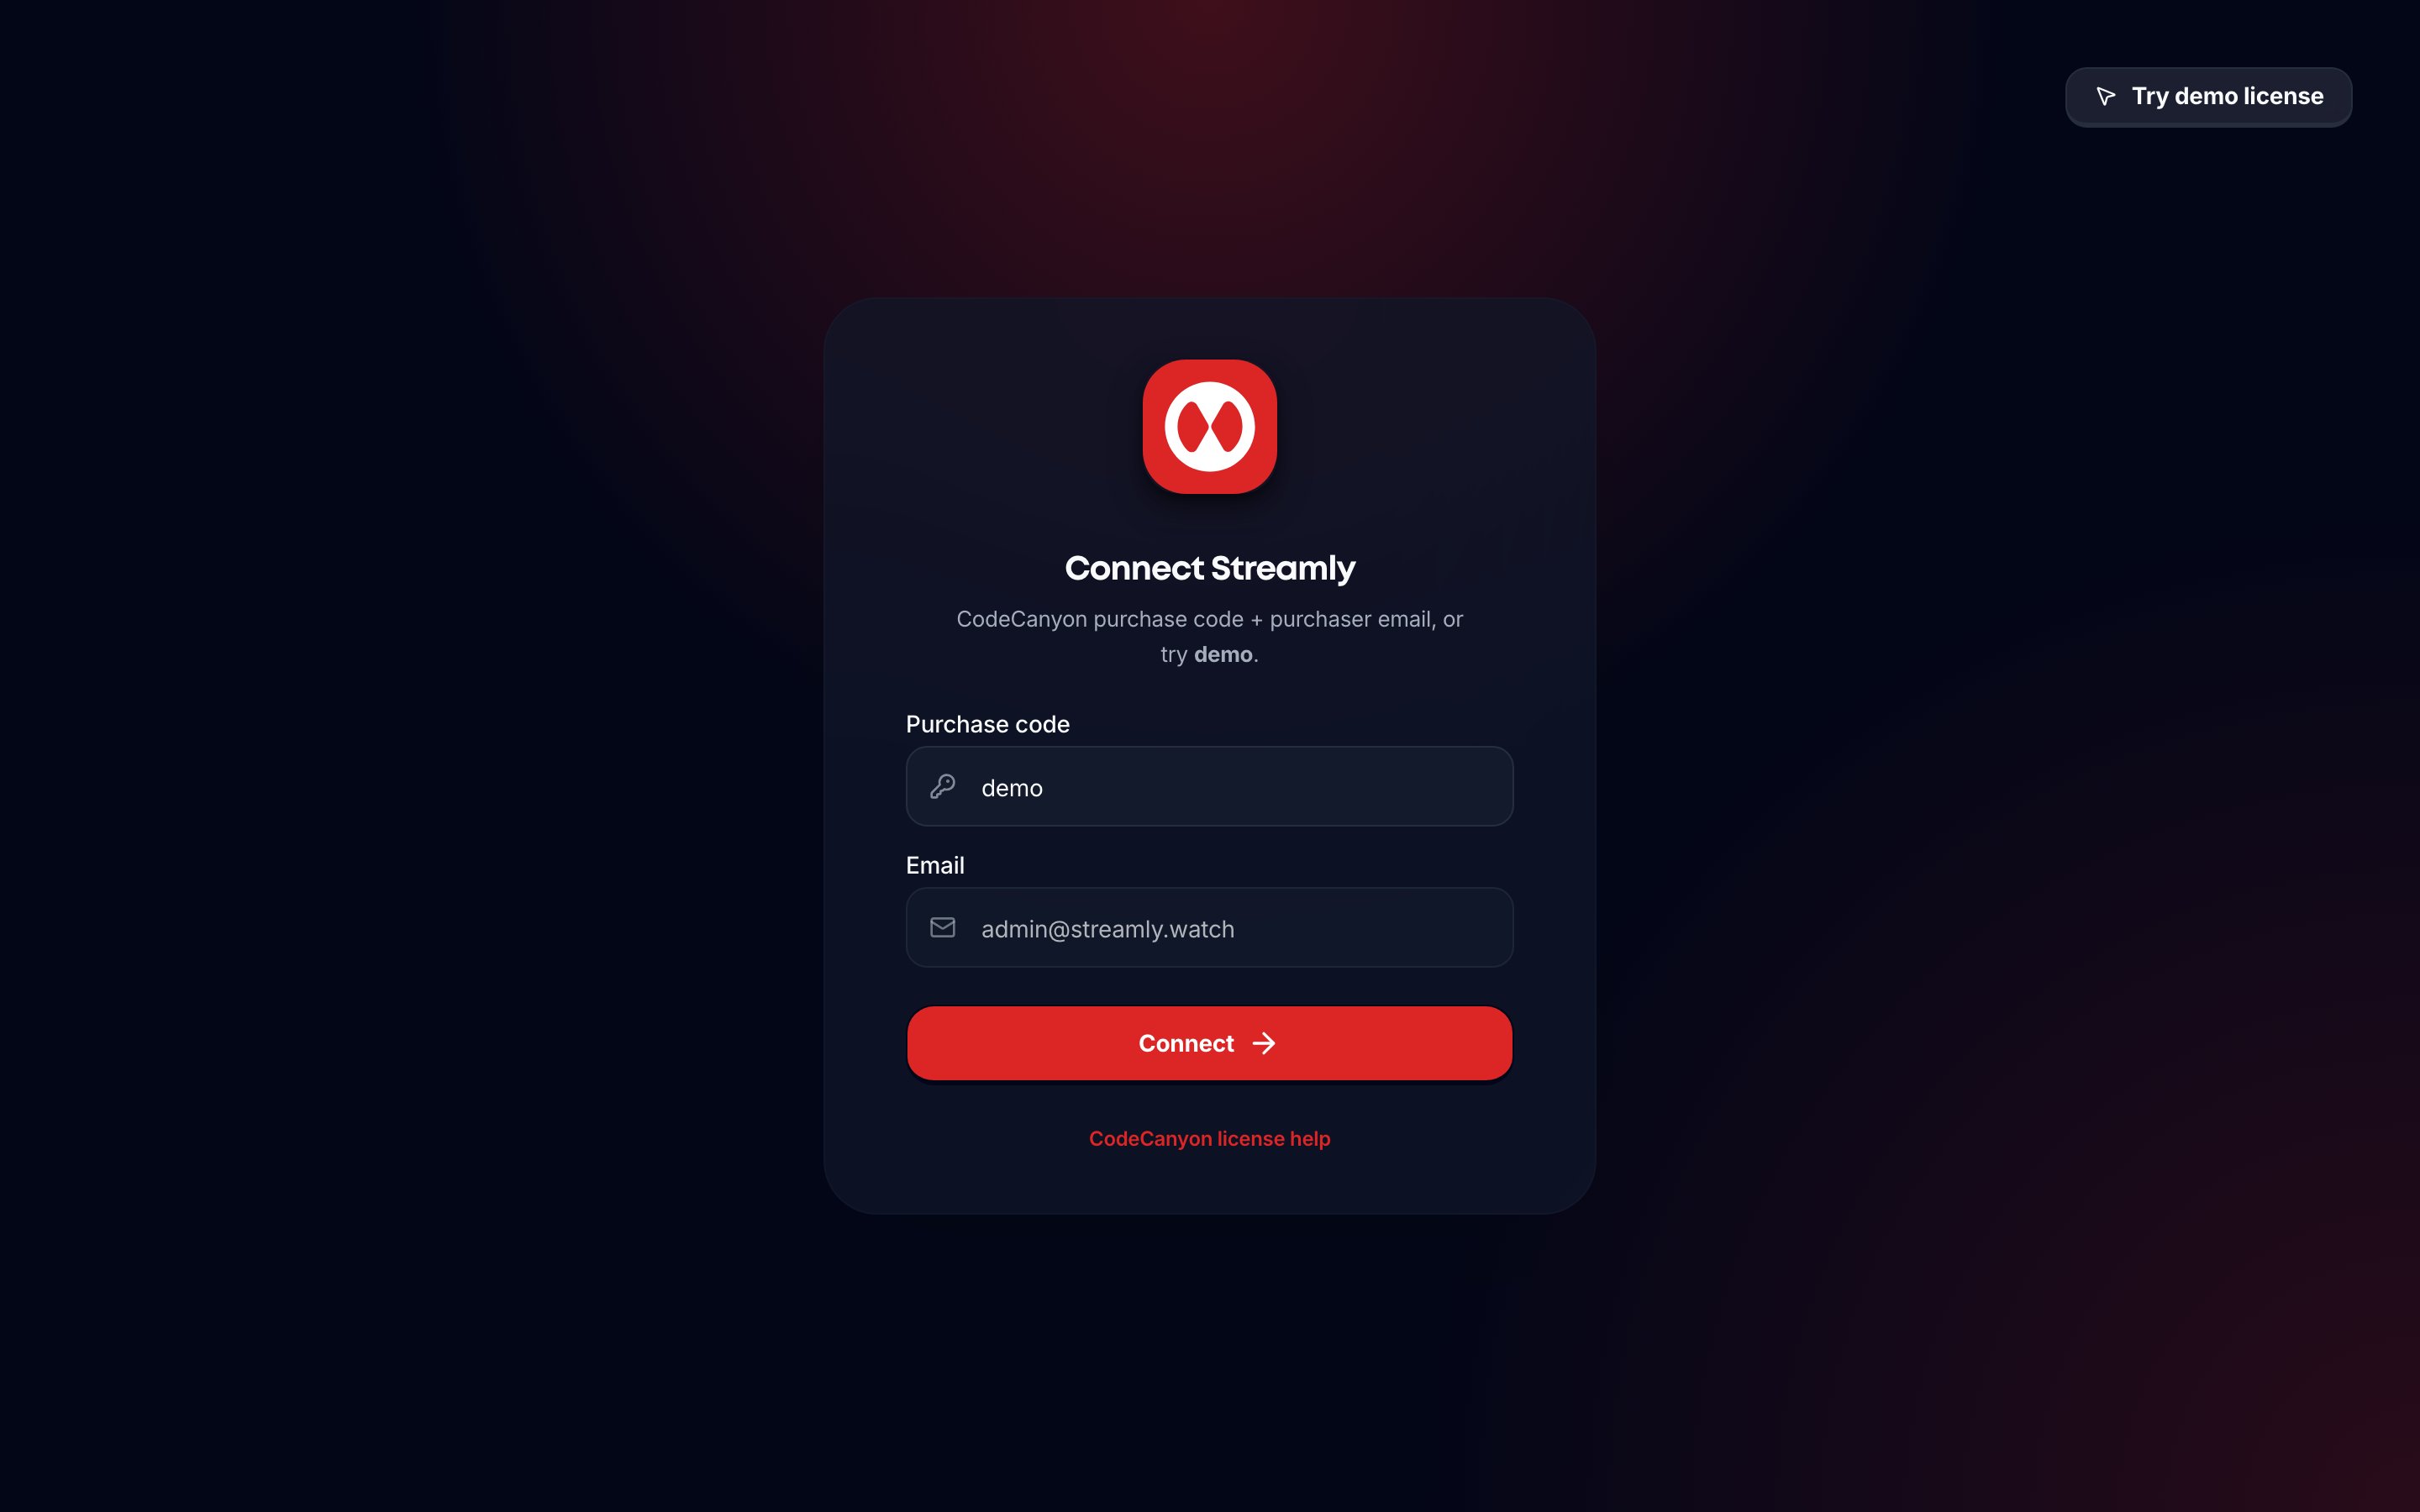
Operator sign-in - email and password on /admin/login.
Step 6 - Sign in as operator
- Open
/admin/login. - Enter the email and password. On a new install these must match
STREAMLY_INITIAL_ADMIN_EMAILandSTREAMLY_INITIAL_ADMIN_PASSWORD. - Finish onboarding →
/admin/overview.
/api/admin/login only authenticates users already marked is_operator=true. Unknown emails cannot become operators. Public viewer signup never grants operator access.
Step 7 - Deploy (when ready)
Also see
DEPLOYMENT.md inside the app folder.
After deploy, sign in on your production URL with the bootstrap operator credentials (or the existing operator password if you already completed first login).
Step 8 - First product setup
Bank-transfer viewers stay on Free until you Approve in
/admin/subscriptions.
Full checklist: First Launch Checklist.
Troubleshooting
More: Deployment FAQ, General FAQ.
Related
- Quick Start - shorter path once you know the package
- Folder Structure
- Requirements
- Getting Support